
Getting Started
Goal: from downloading PxeLab to your first network install in 15 minutes.
Docs: Product Overview | Glossary | Tutorial 1: Install Ubuntu on a Bare Metal Machine | Troubleshooting
System Requirements
| Item | Requirement |
|---|---|
| OS | Windows 10+ / Linux / macOS 12+ |
| Architecture | amd64 / arm64 |
| RAM / Disk | ≥ 512 MB / ≥ 1 GB |
| Network | Admin/root rights needed to run DHCP (port 67) |
No other dependencies — one file, download and run.
Download & Install
Option 1: Download a Release (recommended)
Grab the binary for your platform from GitHub Releases (asset names include the version — v0.1.0 used below as an example):
# Linux amd64
wget https://github.com/PxeLab/pxelab/releases/download/v0.1.0/pxelab_v0.1.0_linux_amd64.tar.gz
tar xzf pxelab_v0.1.0_linux_amd64.tar.gz

# macOS arm64
wget https://github.com/PxeLab/pxelab/releases/download/v0.1.0/pxelab_v0.1.0_darwin_arm64.tar.gz
tar xzf pxelab_v0.1.0_darwin_arm64.tar.gz
Windows: download pxelab_v0.1.0_windows_amd64.zip and extract pxelab.exe.
Release assets follow the naming pattern
pxelab_<version>_<os>_<arch>(zip on Windows, tar.gz elsewhere). Check the Releases page for the latest version and replacev0.1.0in the example URLs accordingly.
Option 2: Build from Source
git clone https://github.com/PxeLab/pxelab.git
cd pxelab
make build          # produces bin/pxelab
deb / rpm packages, Homebrew and Docker images are on the roadmap — not available yet.
First Launch
PxeLab has two run modes with different launch commands:
Server mode (default) — runs in the foreground, logs to the terminal:
# Linux / macOS (DHCP port 67 needs root)
sudo ./pxelab

# Windows (run as administrator)
pxelab.exe --mode server
App mode — starts and opens the browser automatically:
./pxelab --mode appWindows: double-clicking
pxelab.exe(no arguments) runs in system tray mode — the tray icon offers open browser, open data directory, and quit;--mode server/--mode apprun in the foreground with a console window. See Deployment for more options.
Once started, open http://localhost:8080 in a browser — you'll see the dashboard:
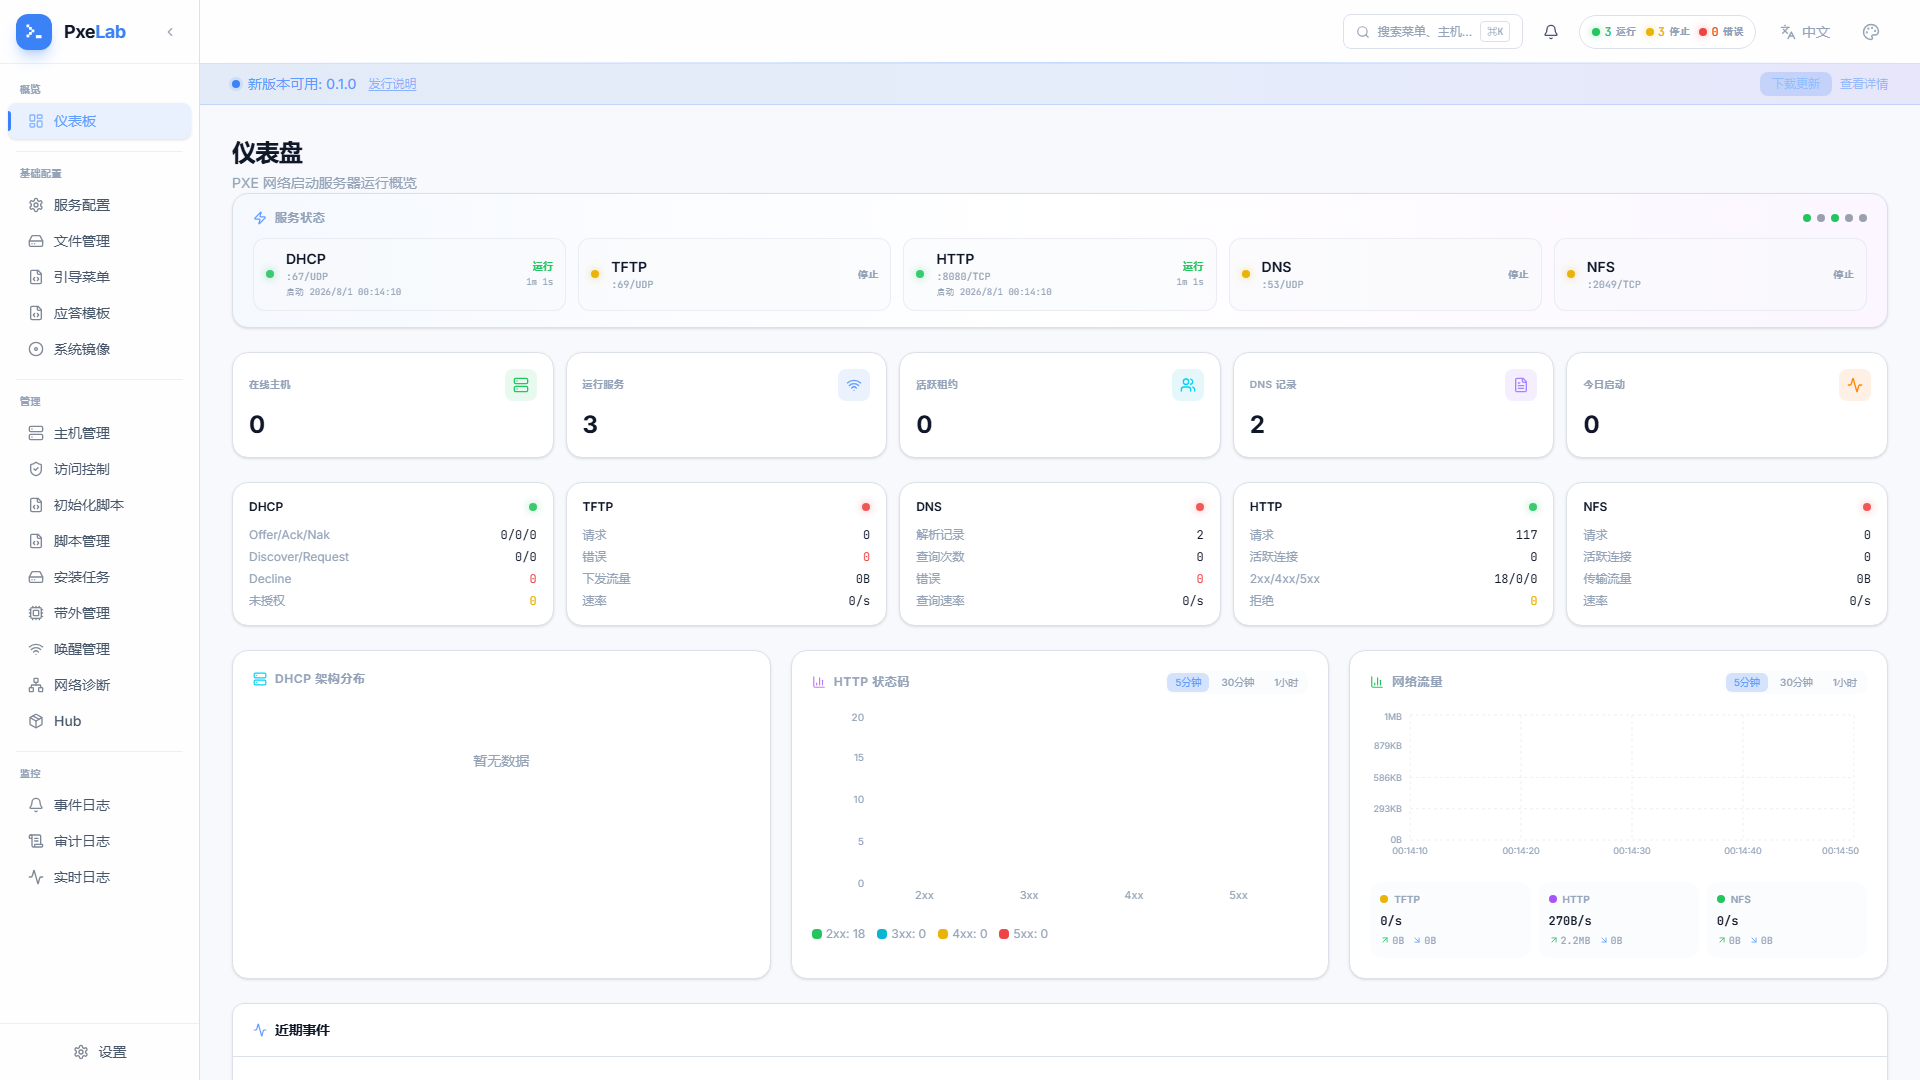
The service status bar at the top shows each service's state: only the HTTP service starts by default; DHCP / ProxyDHCP / TFTP / DNS / NFS are stopped by default — start them manually (or enable auto-start on the interface for DHCP).
Your First Network Install (5 Steps)
Get a computer that supports network boot (bare metal or an existing machine — either works) and follow along:
Step 1: Create an interface and subnet Go to Basic Config → Service Config → DHCP, click Add Interface, set the network (192.168.50.0/24), address pool, gateway, DNS — keep the DHCP mode at server. Save, then start the DHCP service.
Step 2: Enable the OS Install Catalog (Netboot) Go to Basic Config → Service Config → OS Install Catalog and turn the "enabled" toggle on (off by default — must be enabled manually). This adds the [OS] Netboot OS Install Catalog entry to the client's boot menu.
Step 3: Boot the client and enter network boot Power the client on and enter its boot menu (common keys: F12 / F11 / Esc — varies by vendor), then choose network boot (PXE Boot / Network Boot).
Step 4: Pick a system in the boot menu Choose [OS] Netboot OS Install Catalog → Ubuntu → pick a version → start the install.
Step 5: Verify Back on the dashboard: the new host shows up in the "Online hosts" list; Management → Install Tasks shows the install record for this machine.
Want every detail? See Tutorial 1: Install Ubuntu on a Bare Metal Machine.
Next Steps
- Tutorials: Install Ubuntu on a Bare Metal Machine · Layer PXE onto an Existing DHCP Network · Build a Diskless Workstation
- Guides: go deep per feature (DHCP Config, Boot Menu Config, Host Management…)
- API automation: REST API Quick Start · Automation & CI Integration
- Stuck?: Troubleshooting · FAQ